
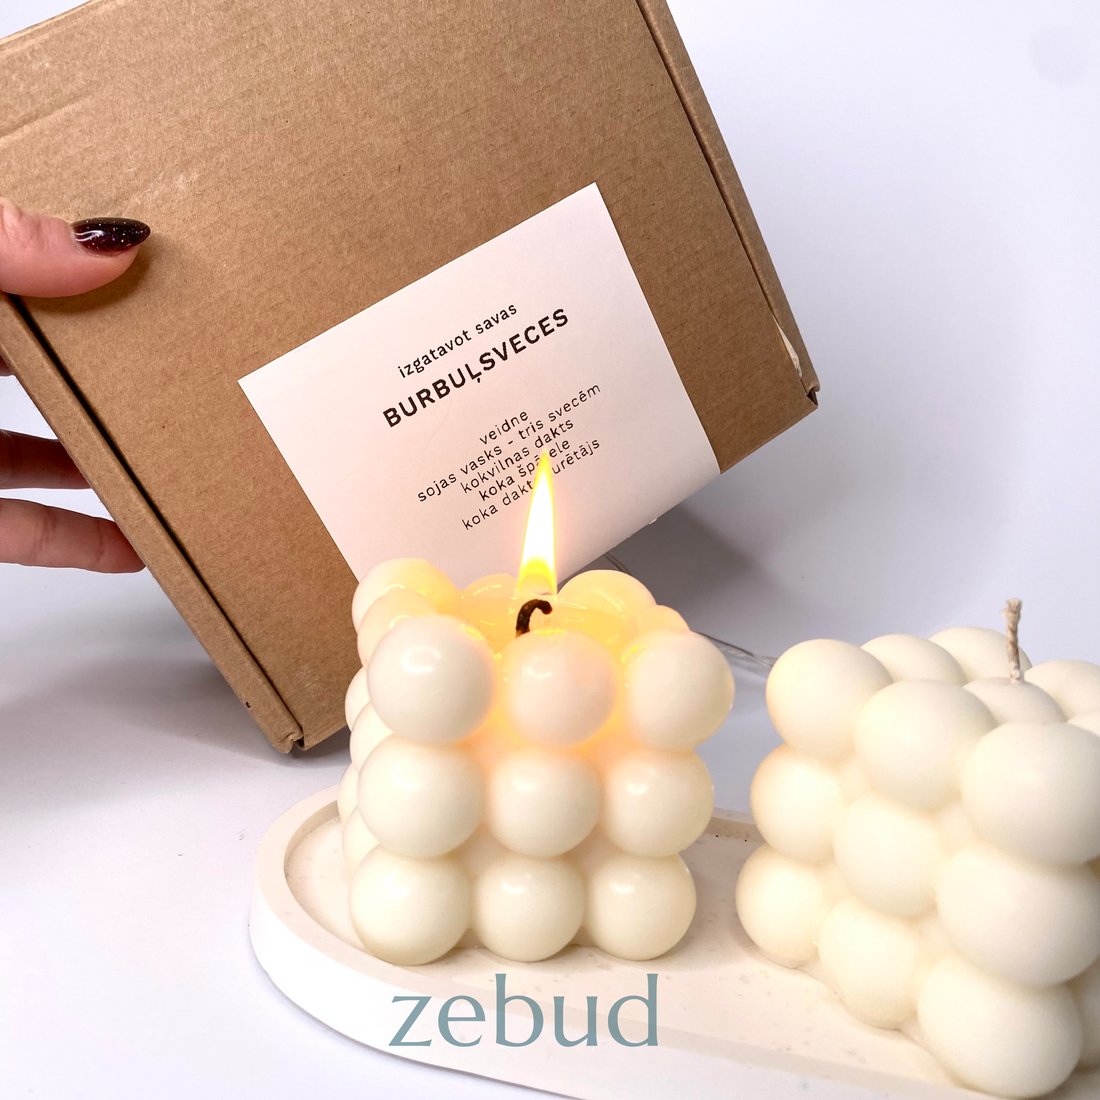
If you are looking for a tutorial - how to make bubble candles, then here it is!
This is a step-by-step guide on how to pour your own candles using the zebud kits candle kit. I am sharing some tips that I follow to make my candles successful.
Included:
In addition, it will be useful:
|
 |
I like to keep things simple. Yes, each wax melts at a different temperature, but if you don't plan to be a professional candle pourer, then it's not that important and you can do without a thermometer. The main thing is to follow some rules and you will succeed.
|
1. Soy wax (160g) is melted in a water bath. Put the wax with the bowl on a pot of boiling water. Better slow than fast. The melting temperature of the soy wax included in the set is 50-55°C, which means - do not boil, but warm. :) |
 |
|
2. While the wax melts, prepare the mold. If the mold is new, it will have a hole punched in the middle. (If you use the zebud kit, the hole will already be there.) Put the wick on the hole and pull it through with the needle from the other side and shorten it. The template is placed on a towel. This is a way to avoid a flattened candle top. |
 |
|
3. When the wax starts to move - stir to equalize the temperature. Remove the bowl with the wax from the heat, let it cool for a minute, if you want, you can add the essential oils at this point. Pour the melted wax into the prepared mold in one go. Don't be afraid - pour to the top and then a little. :) The small sticks are placed on the sides of the mold and a pair of large trees with a wick pulled out in the middle. One of the small sticks is placed on its side so that the big stick rises above the wax. PS: You can also center the wicks without trees ;) |
 |
4. It will take a couple of hours for the wax to completely harden. If you want to speed up the process, you can put the mold in the refrigerator after an hour.
5. Remove by gradually releasing all edges. Be careful not to damage the candle with your fingernails.PS: The instruction will be supplemented, if there are any questions or suggestions, I am waiting for a message ...
Thanks for sharing.
Line